
Rapid Prototyping with SLS: A Step-by-Step Guide for Engineers
Introduction to Rapid Prototyping with SLS
Selective Laser Sintering (SLS) has revolutionized the way engineers approach prototyping. By using a laser to fuse powdered material, SLS allows for the creation of complex and durable prototypes. This method is not only fast but also cost-effective, making it a preferred choice for engineers worldwide.
In this guide, we will walk you through the step-by-step process of using SLS for rapid prototyping. Whether you're a seasoned engineer or a newcomer, understanding these steps will enhance your prototyping capabilities.
Understanding the SLS Process
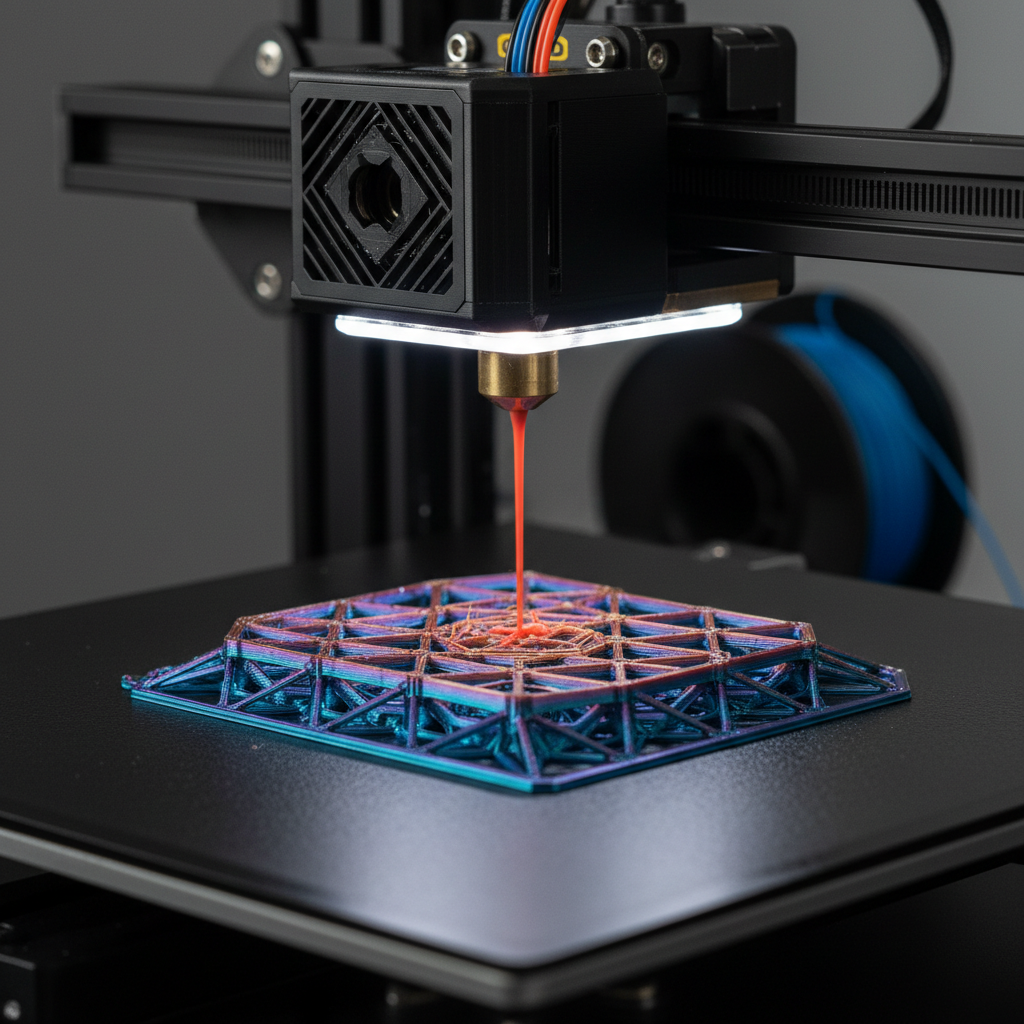
The SLS process begins with a 3D model created using CAD software. This digital model serves as the blueprint for the prototype. Once the design is finalized, the SLS machine reads the data and begins the layer-by-layer construction of the object.
As the laser moves across the powder bed, it selectively fuses the material, building the object from the ground up. This precise method allows for intricate designs and high-quality finishes.
Materials Used in SLS
SLS is compatible with a variety of materials, including plastics, metals, and ceramics. Engineers often choose materials based on the specific requirements of the project, such as strength, flexibility, or temperature resistance.

Step-by-Step Guide to SLS Prototyping
1. Designing the Model
The first step in SLS prototyping is designing a 3D model using CAD software. This model should be optimized for the SLS process, considering factors like wall thickness and support structures.
2. Preparing the SLS Machine
Once the design is ready, the next step is to prepare the SLS machine. This involves loading the appropriate material and configuring the machine settings to match the project specifications.
3. Building the Prototype
With the machine prepared, the SLS process begins. The laser systematically fuses the powdered material, layer by layer, until the prototype is complete. This process can take several hours, depending on the complexity of the design.
Post-Processing and Finishing
After the prototype is built, it undergoes post-processing to remove excess powder and enhance its appearance. Techniques such as bead blasting or tumbling may be used to achieve the desired finish.
Post-processing is crucial for ensuring that the prototype meets the required standards and is ready for testing or presentation.
Final Quality Check
The final step involves a thorough quality check to ensure the prototype's dimensions and features are accurate. Engineers may use tools like calipers or CMMs to verify measurements.

Benefits of SLS in Rapid Prototyping
SLS offers numerous advantages for rapid prototyping. Its ability to create complex geometries without the need for support structures is unmatched. Additionally, SLS prototypes are durable, making them suitable for functional testing.
By understanding the SLS process, engineers can leverage this technology to accelerate product development and innovate with confidence.