Step-by-Step: Starting Your First Custom FDM 3D Printing Project in South Elgin
Understanding FDM 3D Printing
Fused Deposition Modeling (FDM) is one of the most accessible and widely used 3D printing technologies today. For those in South Elgin looking to delve into this fascinating world, starting a custom FDM 3D printing project can be an exciting journey. This step-by-step guide will help you get started on your first project, ensuring you have a smooth and rewarding experience.
Selecting the Right Printer
The first step in any 3D printing project is choosing the right printer. There are various models available in the market, each with its own set of features. Consider factors such as print size, material compatibility, and ease of use. For beginners, it's advisable to go for a user-friendly model that offers good support and a comprehensive manual.
Choosing Materials
Next, you'll need to select the materials for your project. FDM printers primarily use thermoplastics like PLA and ABS. PLA is recommended for beginners due to its ease of use and biodegradability. ABS is more durable but requires a heated bed and good ventilation. Consider the functional requirements of your project when selecting materials.
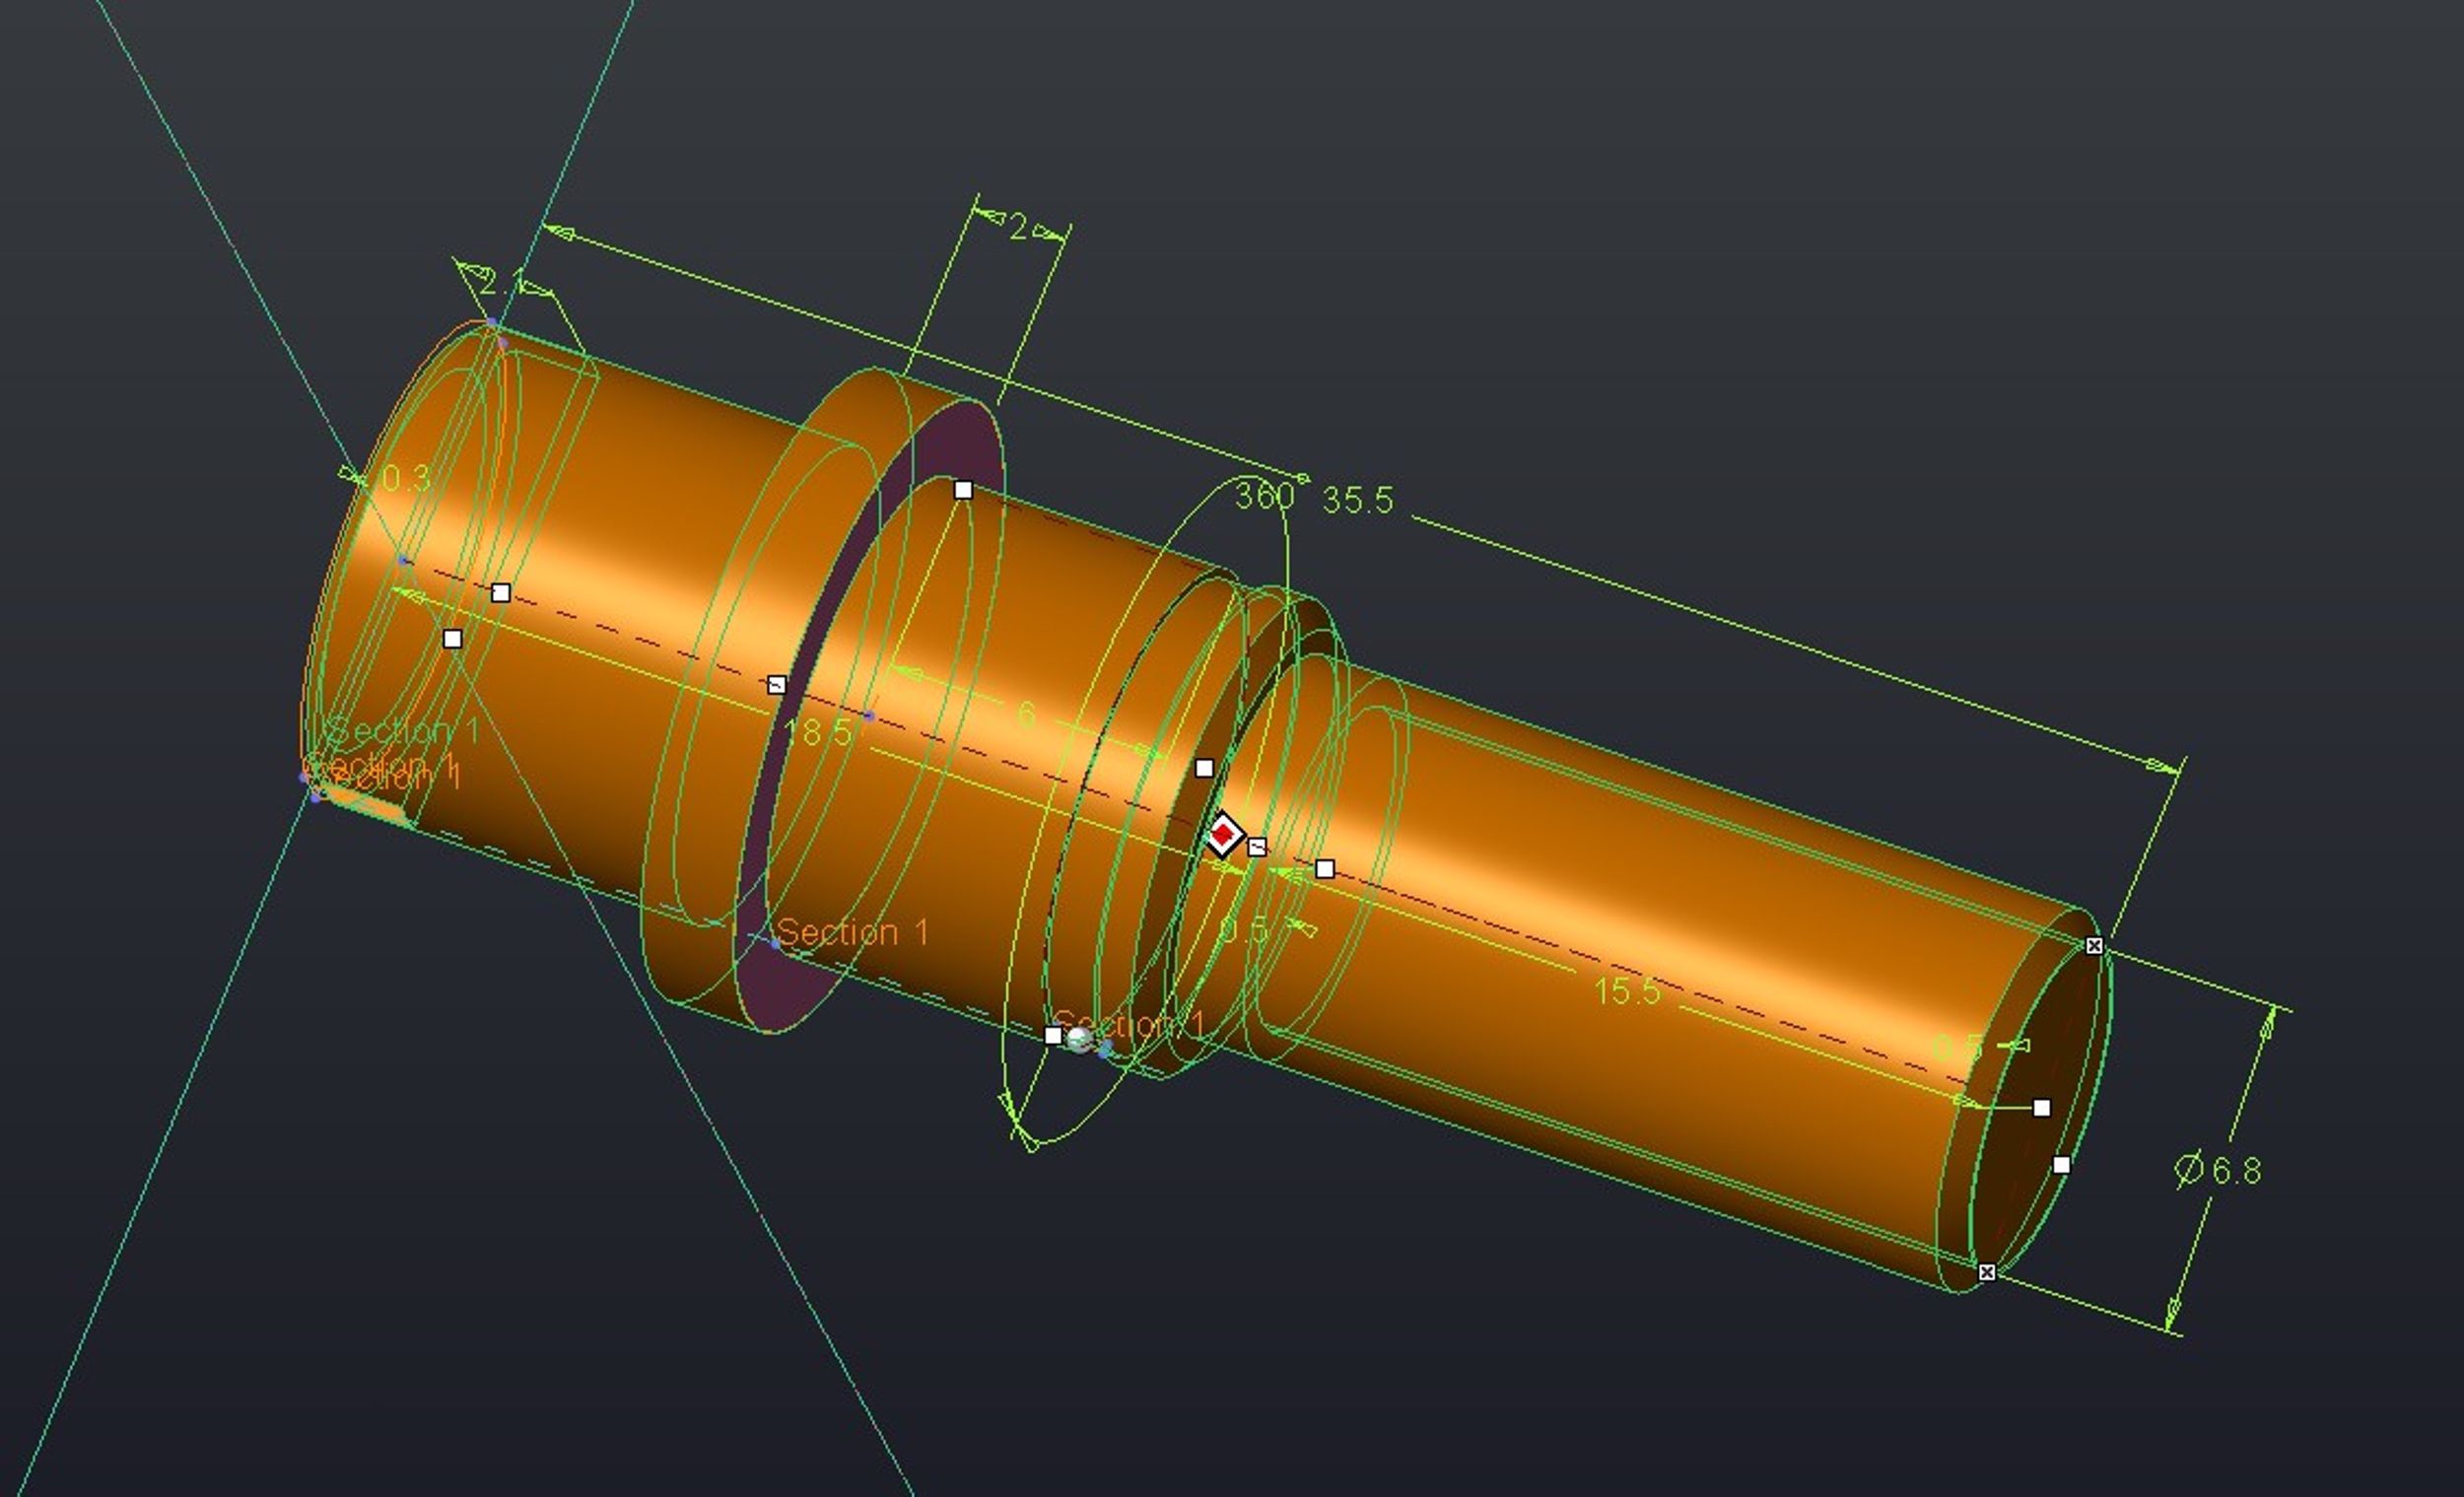
Designing Your Model
Designing your 3D model is where creativity comes into play. You can either create a custom design using software like TinkerCAD or download pre-existing models from online repositories such as Thingiverse. Ensure that your design is compatible with FDM technology and is properly scaled to fit your printer's build area.
Preparing for Printing
Once your design is ready, slice it using software like Cura to generate G-code, which instructs your printer on how to construct the object. This step involves setting parameters such as layer height, print speed, and infill density. Beginners should start with default settings and gradually tweak them as they become more comfortable with the process.
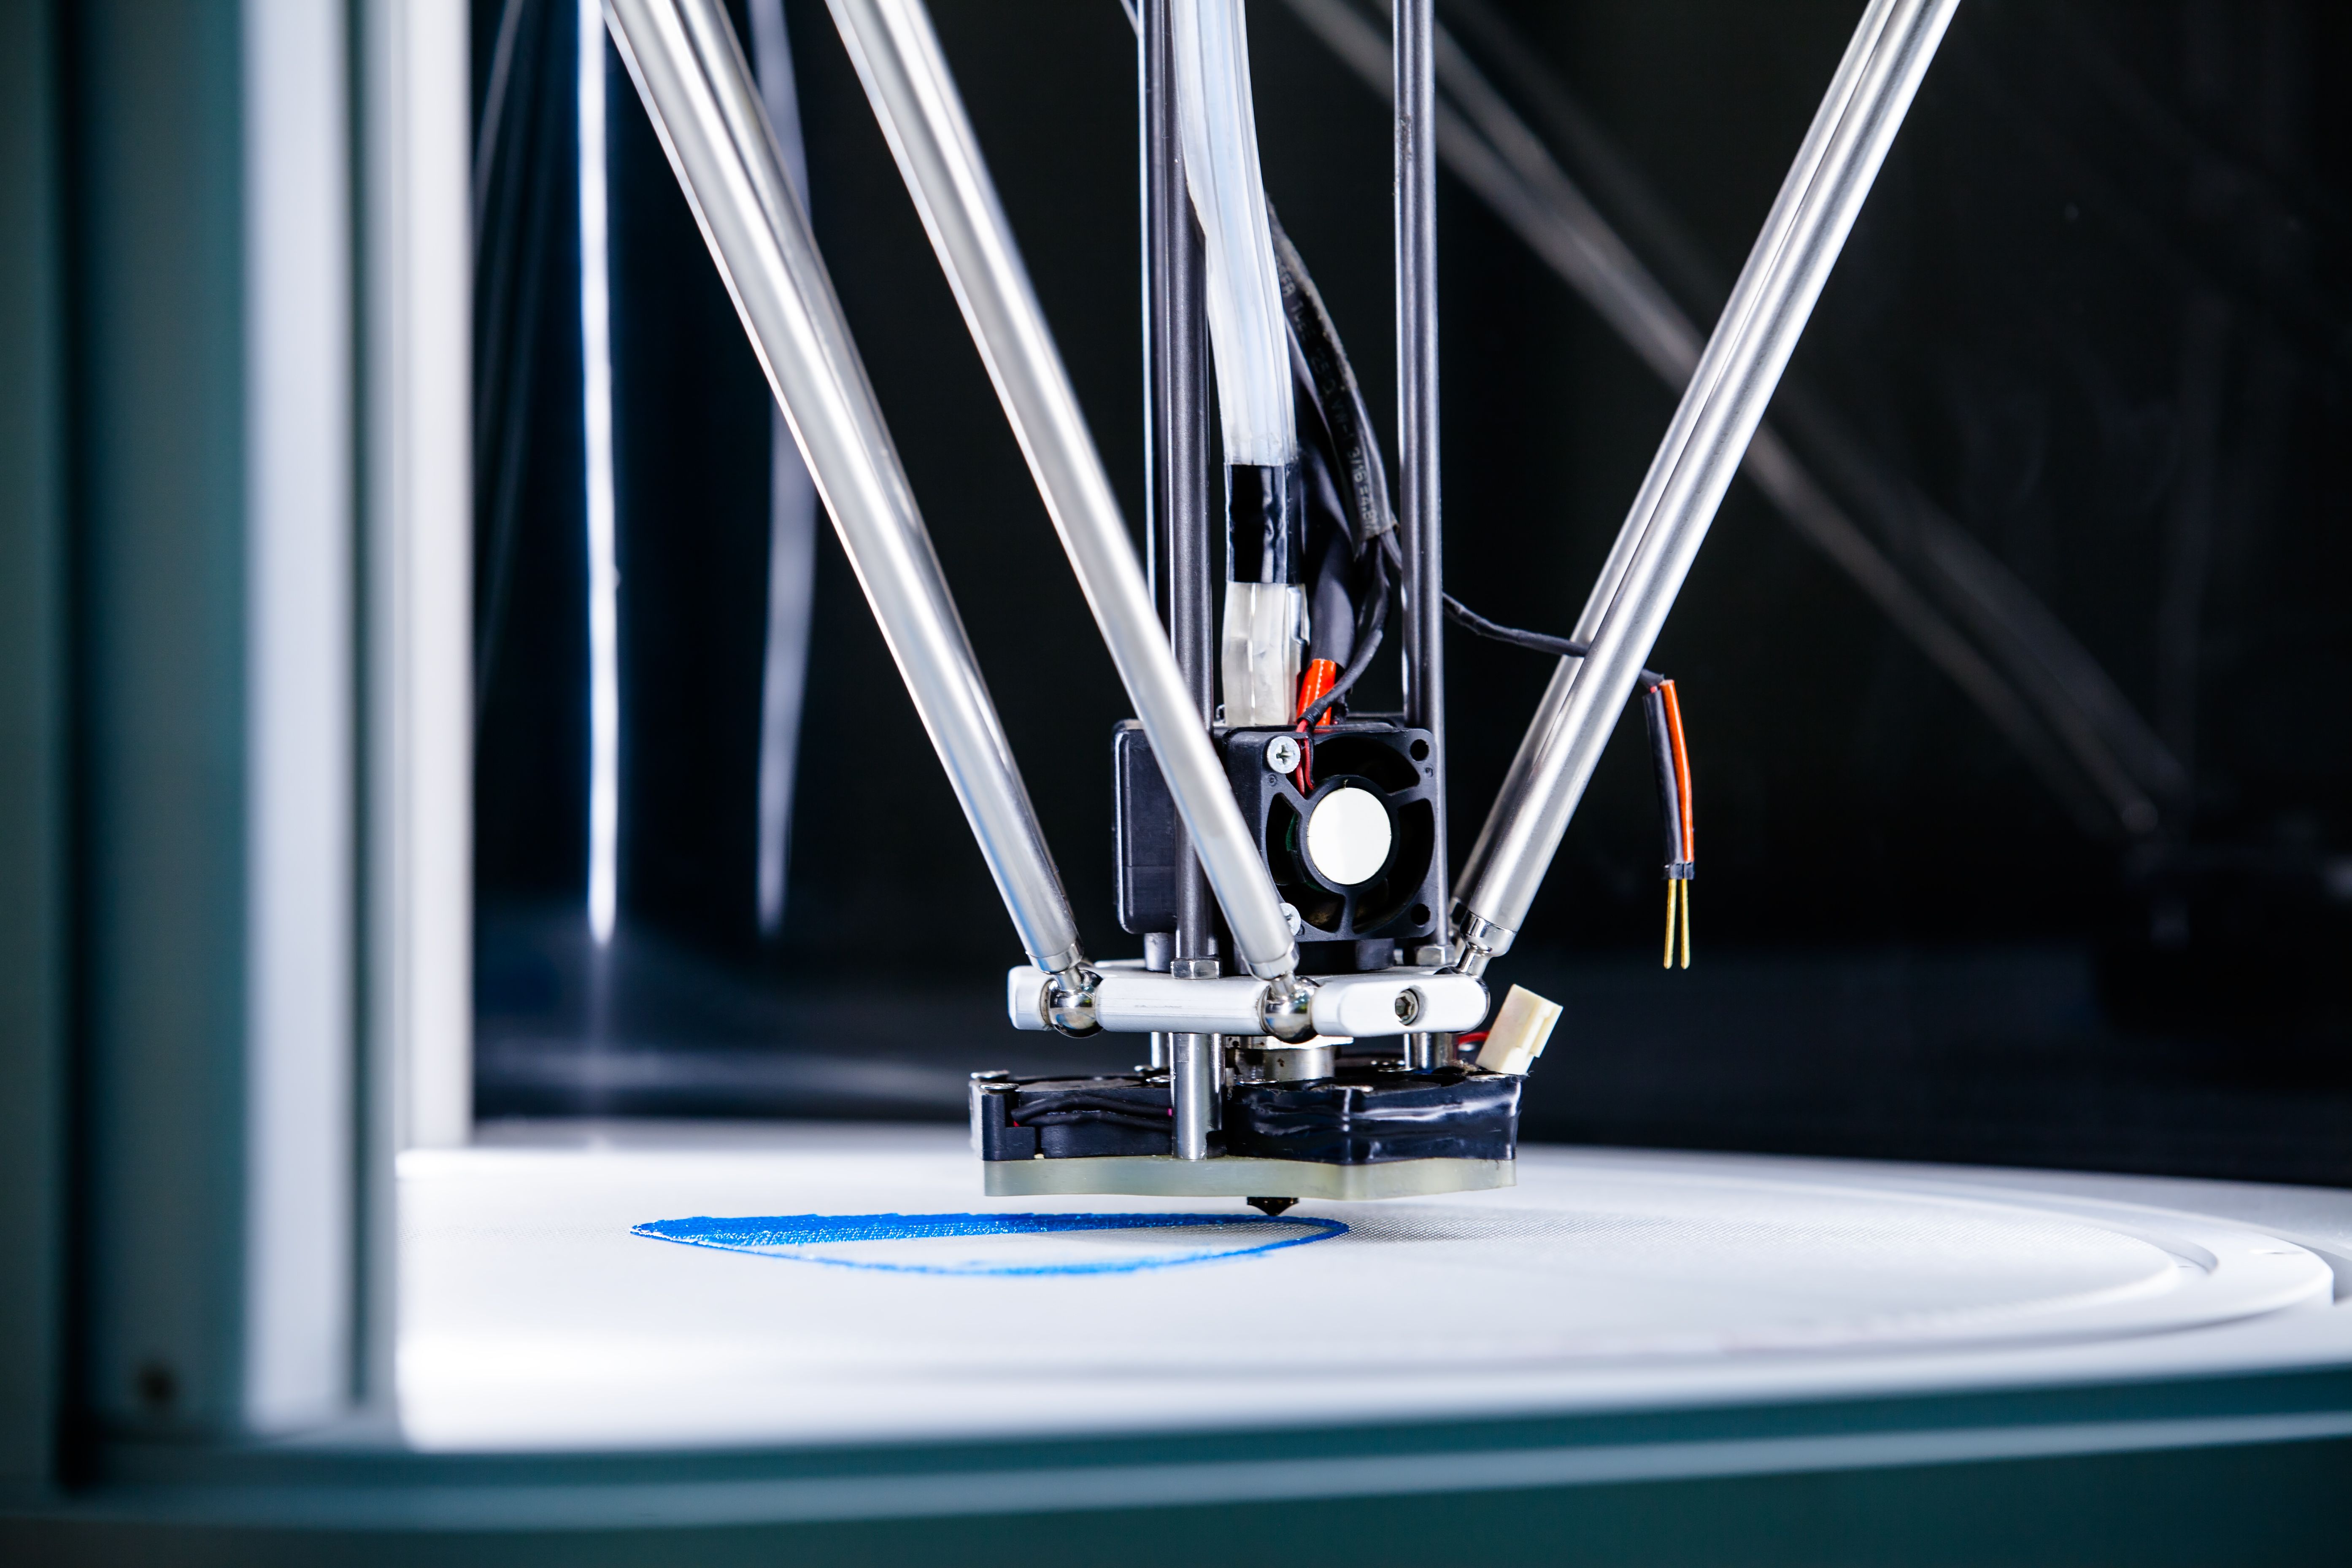
Starting the Printing Process
With everything set up, it's time to start printing. Ensure that your printer is properly calibrated and that the print bed is level. Load your filament and commence the printing process by sending the G-code to your printer. Monitor the print closely to ensure that it starts correctly, and be ready to pause if any issues arise.
Post-Processing
After printing, most models require some degree of post-processing. This can involve removing supports, sanding rough edges, or even painting the model for aesthetic purposes. Proper post-processing can significantly enhance the appearance and functionality of your final product.
Learning from Experience
Your first custom FDM 3D printing project is a learning experience. Take note of any challenges you encounter and consider them opportunities for growth. Engage with local or online communities in South Elgin to share experiences and seek advice. With each project, you'll gain valuable skills and insights that will improve your future endeavors.
Embarking on a custom FDM 3D printing project is both rewarding and educational. By following these steps, you'll not only create something tangible but also develop a deeper understanding of this innovative technology. Happy printing!