From Concept to Creation: A Step-by-Step Guide to 3D Printing for Prototyping
Understanding 3D Printing for Prototyping
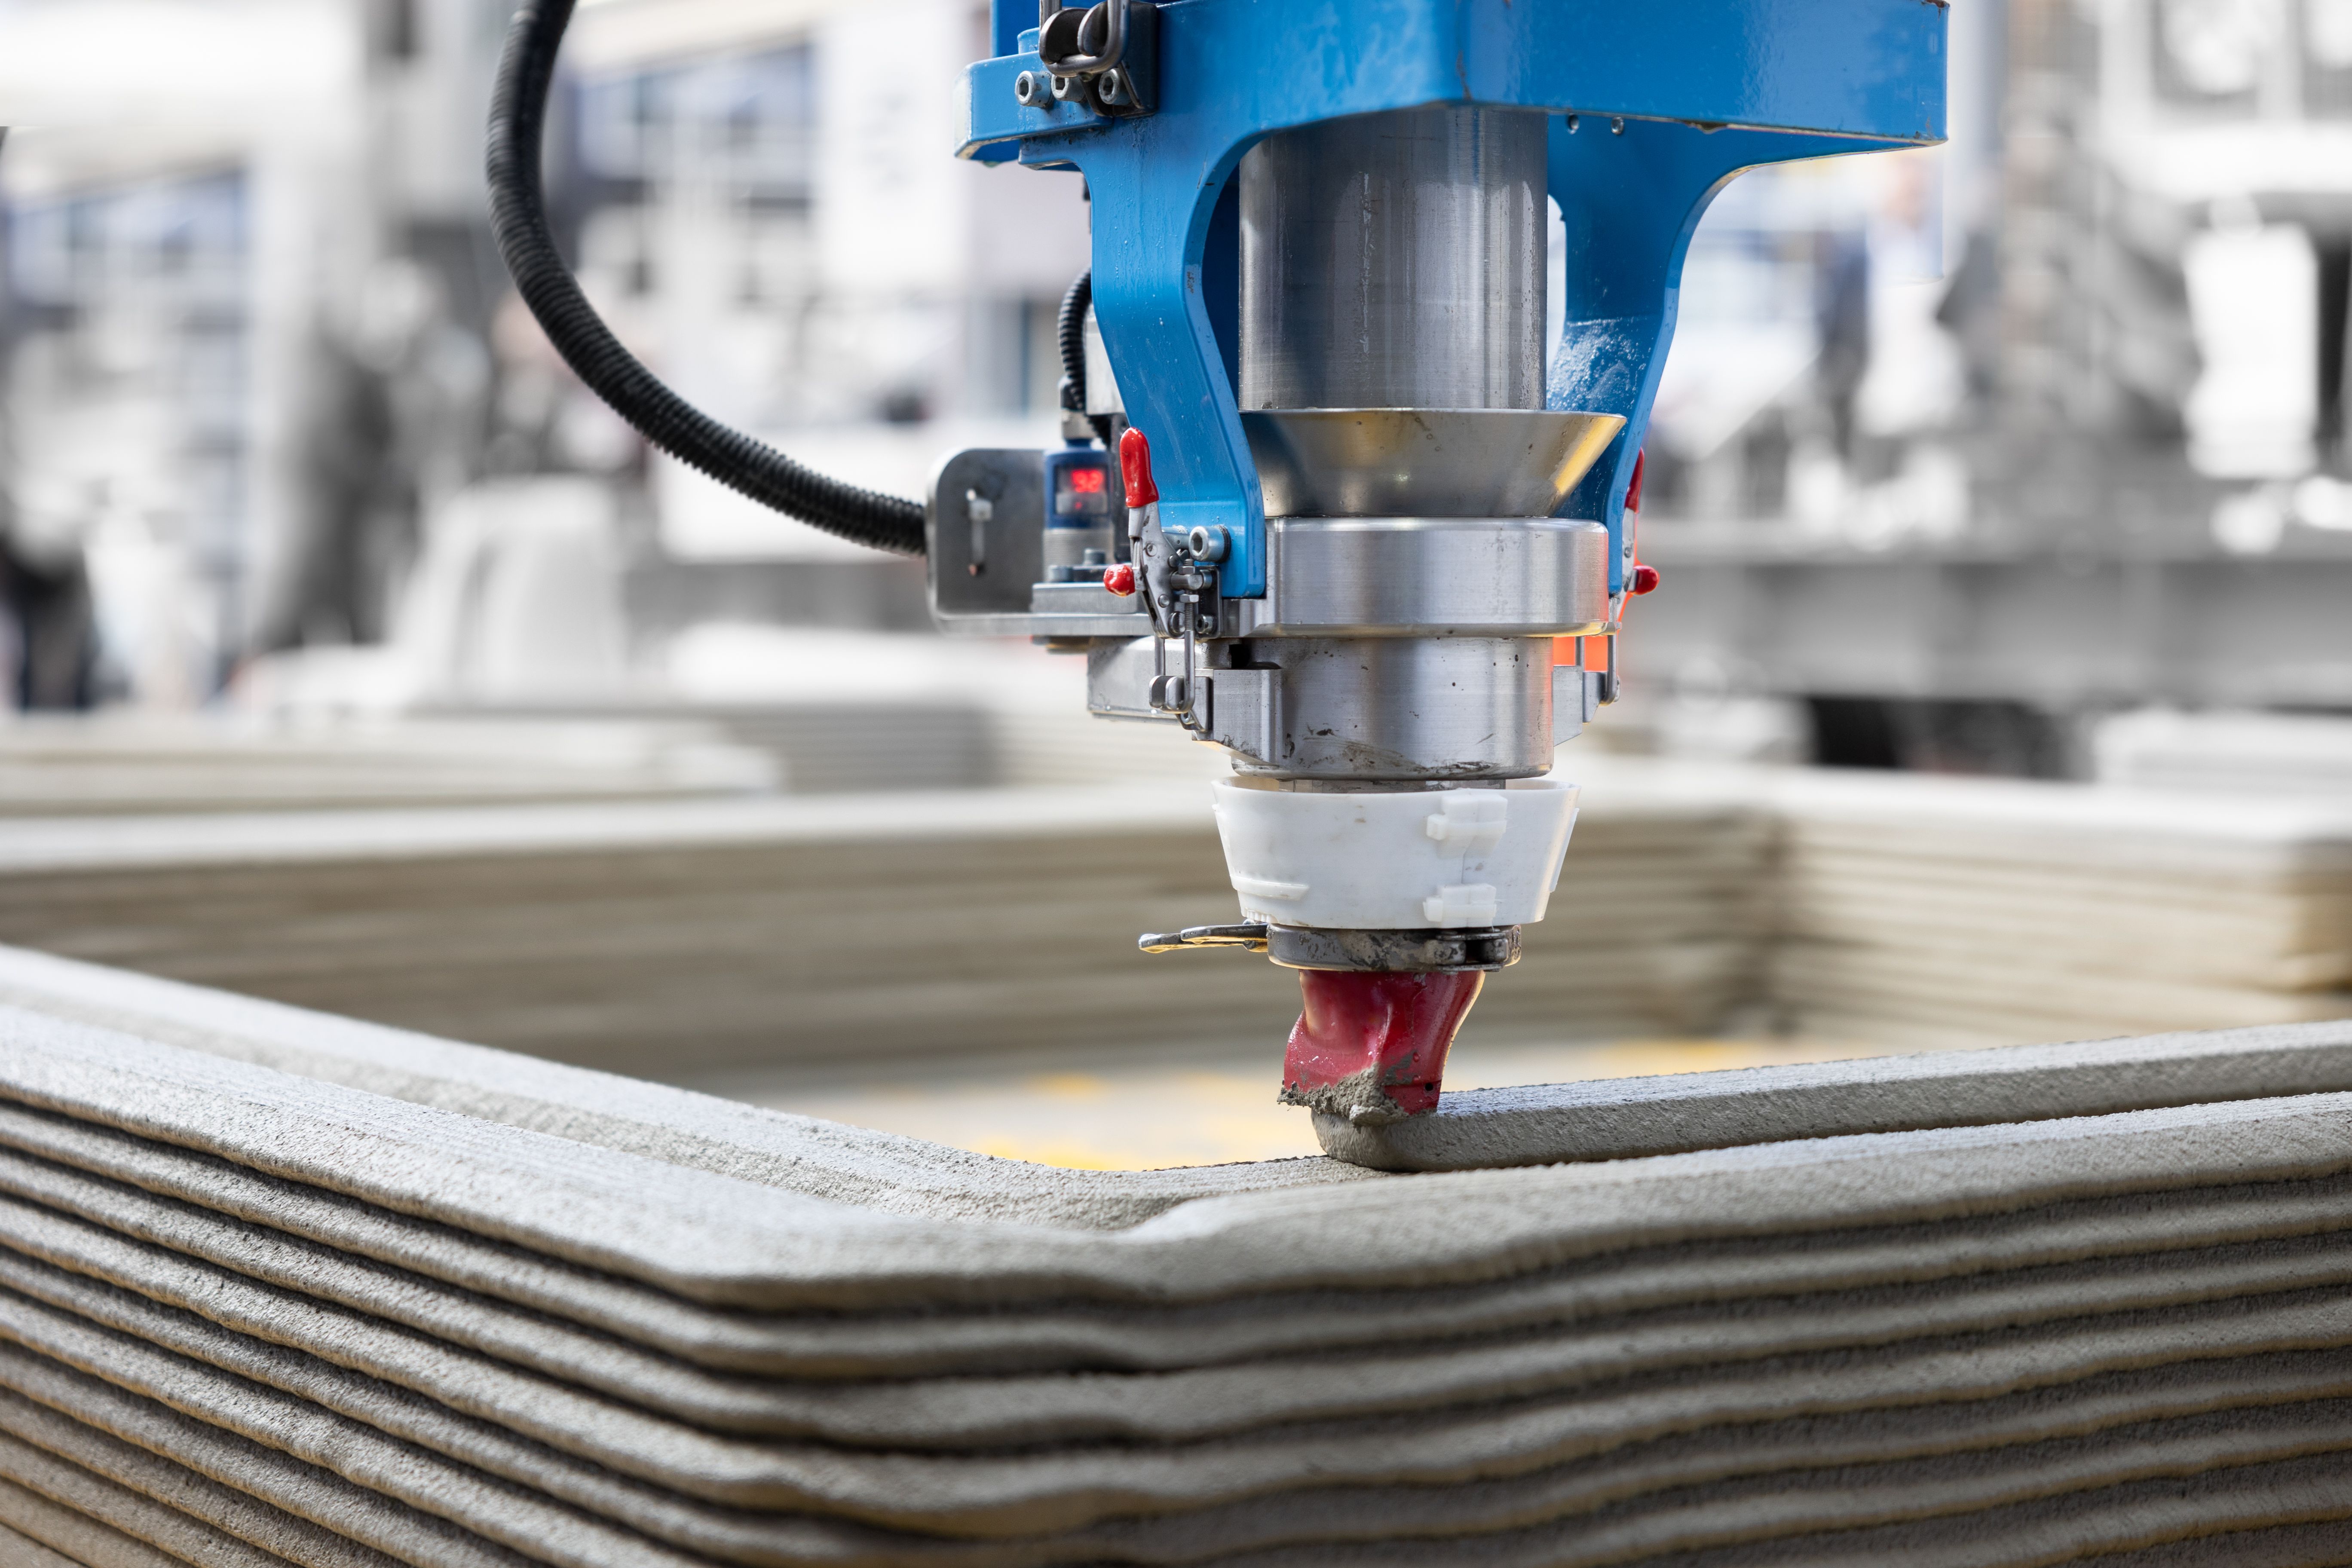
3D printing has revolutionized the way we approach prototyping, allowing for rapid iteration and creative freedom. This technology enables designers and engineers to transform digital concepts into tangible objects with unparalleled precision. By understanding the process from concept to creation, you can leverage 3D printing to bring your prototypes to life efficiently.
Step 1: Conceptualization and Design
The first step in 3D printing for prototyping is conceptualization and design. In this phase, you should clearly define the purpose of your prototype and identify the key features that need to be tested. Using design software such as CAD (Computer-Aided Design), you can create a digital model of your idea. Focus on functionality and aesthetics, ensuring that the design meets your project's requirements.
Choosing the Right Software
There are numerous software options available for 3D modeling, ranging from beginner-friendly programs to advanced tools for professionals. Popular choices include Tinkercad, Fusion 360, and SolidWorks. Select a tool that matches your skill level and project needs. Remember, a well-crafted digital model is crucial for successful 3D printing.

Step 2: Material Selection
Choosing the right material is critical for creating a functional prototype. The material you select will affect the prototype's strength, flexibility, and appearance. Common materials used in 3D printing include PLA, ABS, PETG, and nylon. Consider factors such as durability, cost, and the specific requirements of your project when making your choice.
Understanding Material Properties
Each material has unique properties that make it suitable for different applications. For instance, PLA is biodegradable and easy to work with, making it ideal for beginners. In contrast, ABS offers greater strength and thermal resistance, making it suitable for more demanding prototypes. Evaluate the properties of each material to ensure it aligns with your prototype's purpose.
Step 3: Printing Setup
Once you have your design and material ready, it's time to set up the printer. This involves configuring the printer settings such as layer height, print speed, and temperature. Proper calibration is essential to achieve high-quality prints. Ensuring that the printer bed is level and the nozzle is clean can significantly impact the final result.
Optimizing Print Settings
Experimenting with different settings can help you find the optimal configuration for your specific project. For detailed prototypes, a smaller layer height can provide better resolution, while a faster print speed might be suitable for less detailed models. Balancing these settings will help you achieve the best possible outcome for your prototype.
Step 4: Post-Processing
After printing, some post-processing may be necessary to refine your prototype. This can include removing support structures, sanding rough edges, or applying a finish for aesthetic purposes. Post-processing enhances the appearance and functionality of the prototype and ensures it meets your project's expectations.
Enhancing Prototype Quality
Sanding and polishing can help smooth out any imperfections on the surface of your prototype. Additionally, painting or coating can provide a professional finish that highlights specific features. These steps are vital in ensuring that your prototype not only looks good but also functions as intended.
Step 5: Testing and Iteration
The final stage involves testing the prototype to assess its performance and gather feedback. This step is crucial for identifying any necessary adjustments or improvements. Based on test results, you can iterate on the design by returning to the conceptualization phase and making modifications as needed.
By following these steps, you can effectively utilize 3D printing for prototyping, transforming your digital ideas into reality with precision and creativity.